
Introduction to Time-lapse Videos
Welcome to our step-by-step tutorial on how to create stunning time-lapse videos! Time-lapse videos have the power to captivate audiences by condensing hours, days, or even months into a few seconds, revealing the passage of time in a visually compelling way. Whether you want to document the changing seasons, capture the hustle and bustle of a city, or showcase the beauty of natural landscapes, this tutorial will guide you through the process of planning, capturing, and editing time-lapse footage to create awe-inspiring videos. From selecting the right equipment and settings to adding music and special effects, we will provide you with the knowledge and techniques to produce professional-looking time-lapse videos that will leave viewers in awe. So, let's dive in and unlock the magic of time-lapse videography!
-
What is a time-lapse video?
Time-lapse videos are a clever way to compress hours, days, or even months into a few short minutes. By capturing images at a lower frame rate than playback, you can condense long periods of time into a visually stunning video.
The benefits of creating time-lapse videos
Time-lapse videos allow you to showcase the passage of time in a visually captivating way. They can bring to life the movement of clouds, the bustling activity of a city, or the growth of a plant. Not only are they visually pleasing, but they also grab the viewer's attention and evoke a sense of awe and wonder.
Examples of stunning time-lapse videos
Time-lapse videos have become increasingly popular, and it's not hard to see why. From magnificent sunsets to bustling cityscapes, there's no shortage of captivating examples out there. Look up "Koyaanisqatsi," "The Lion City II - Majulah," or "The Mountain" for some jaw-dropping inspiration.
-
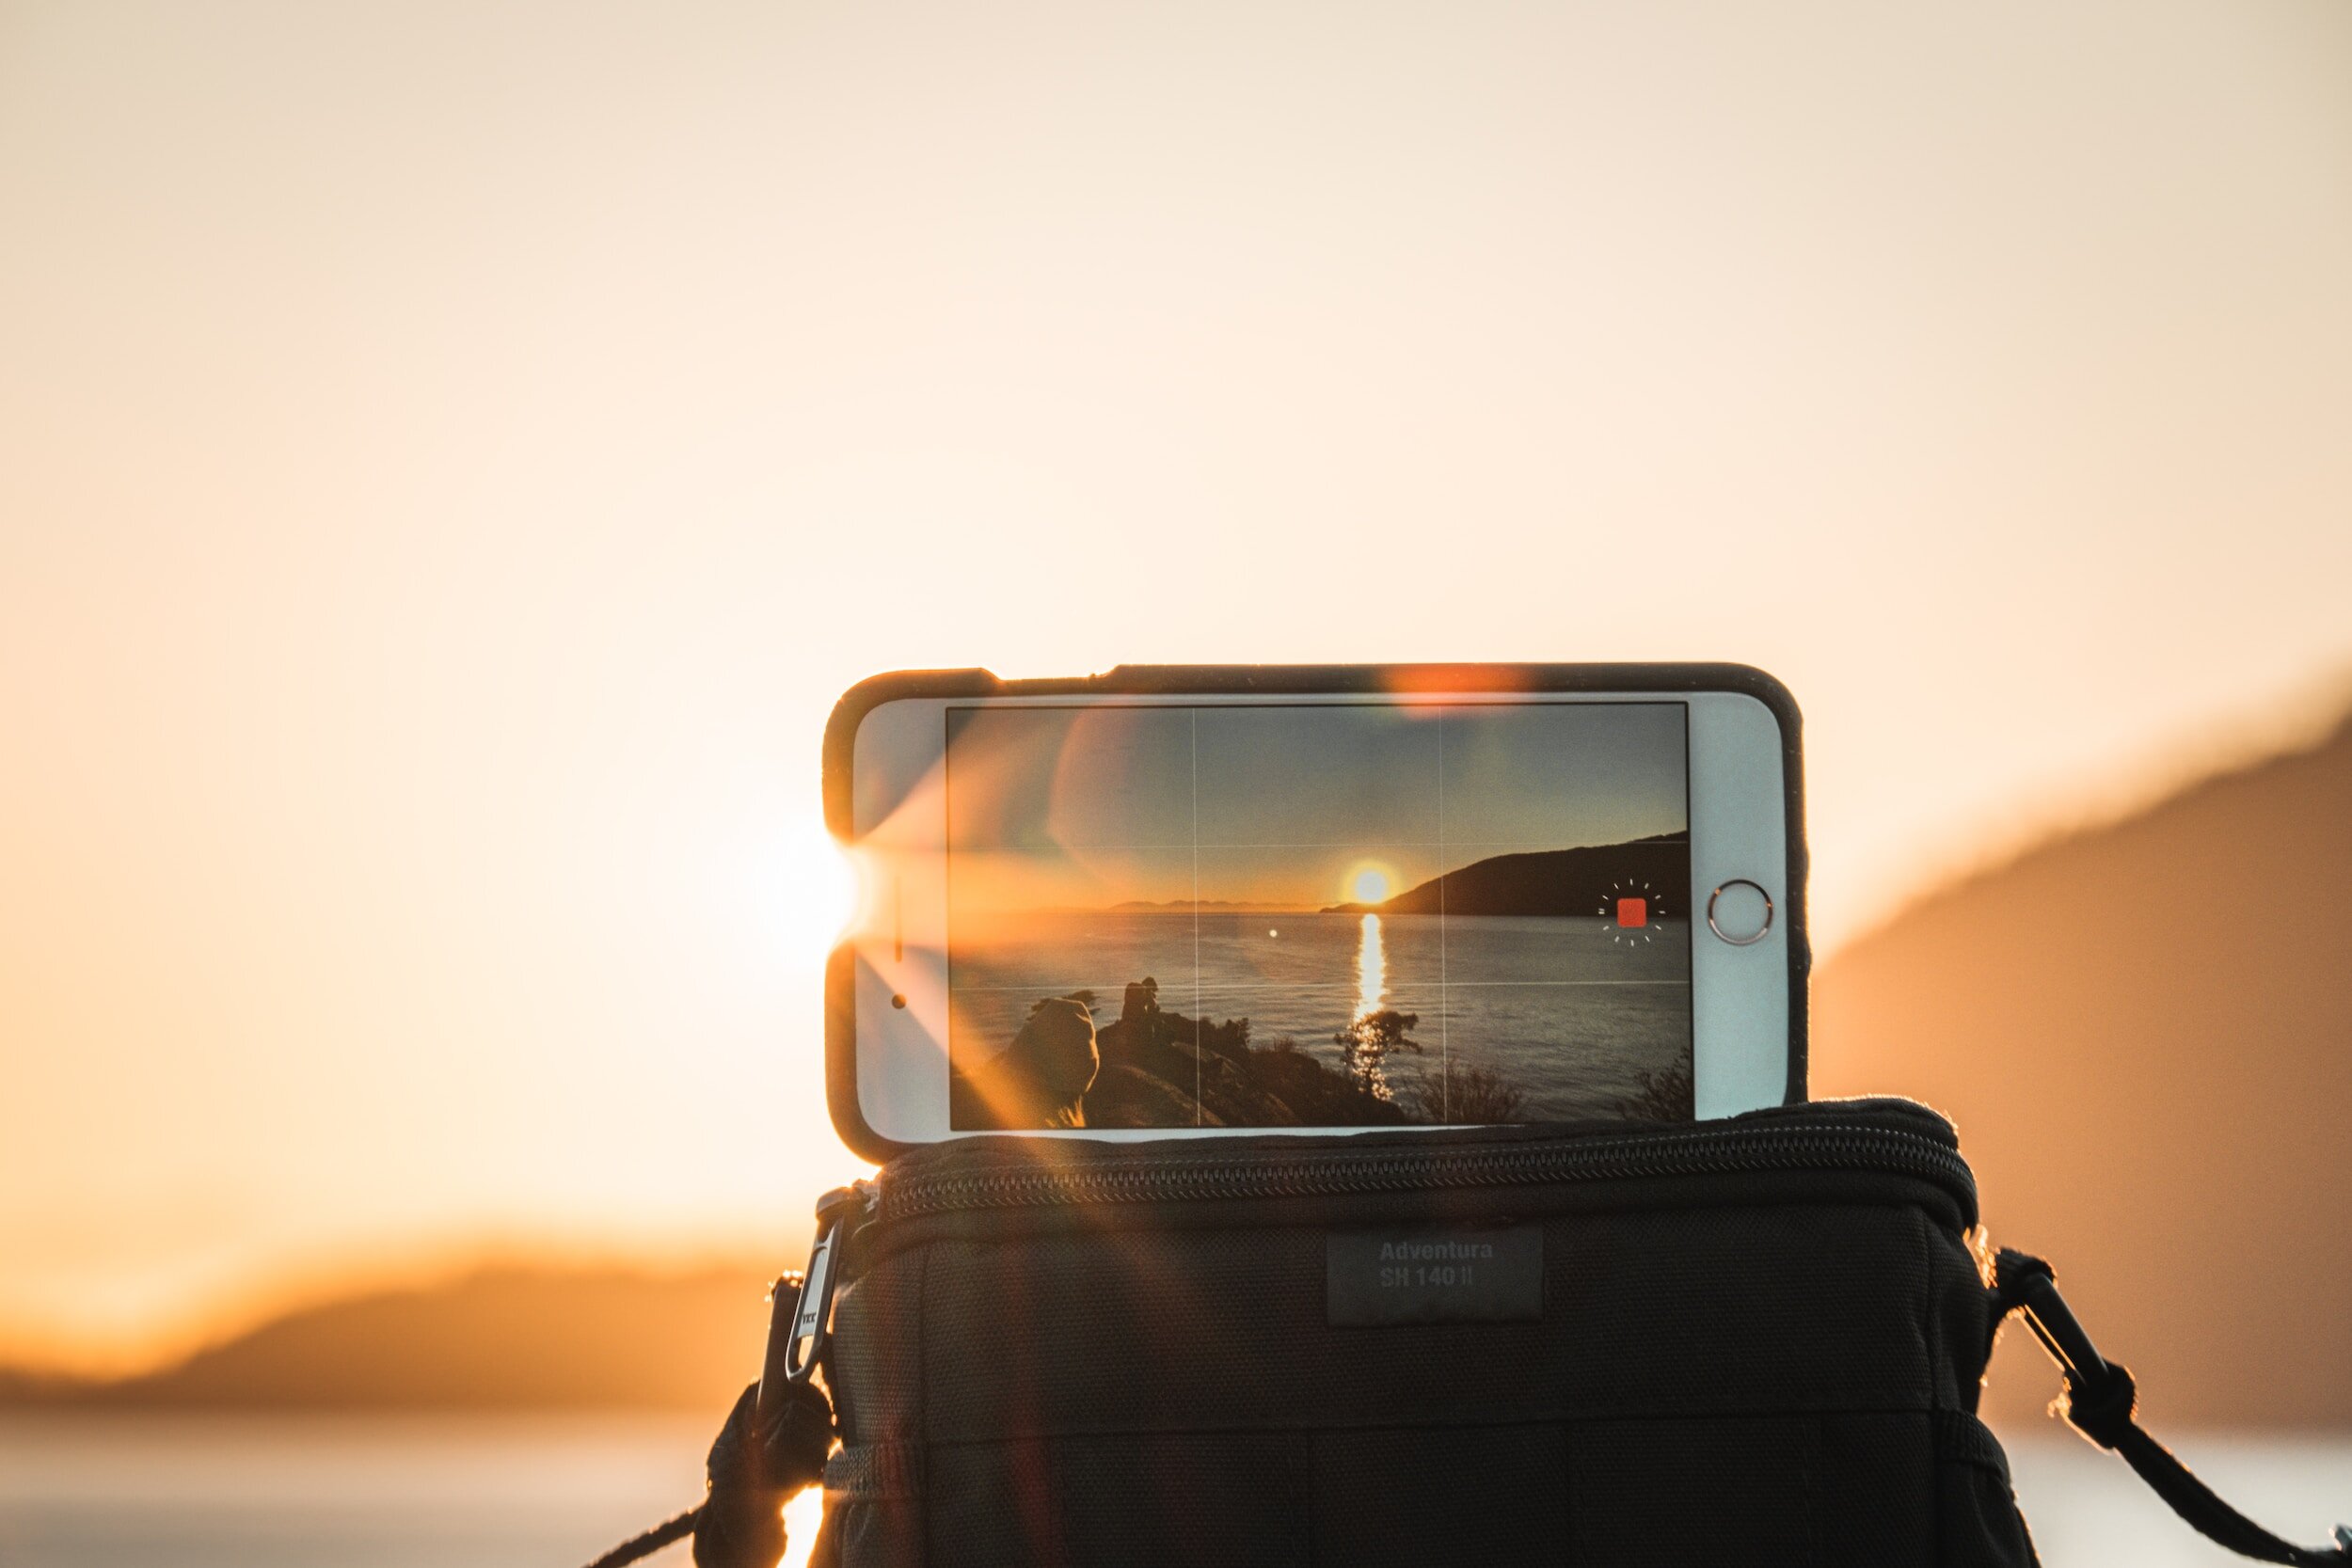
Camera equipment needed for time-lapse videos
To capture stunning time-lapse footage, you'll need a camera with manual settings, as well as a sturdy tripod to keep it steady. Preferably, use a DSLR or mirrorless camera for better image quality and flexibility.
Recommended camera settings for time-lapse
Set your camera to manual mode and choose a narrow aperture (higher f-stop) for a larger depth of field. Adjust the shutter speed to control the amount of light entering the camera. Shoot in RAW format for greater editing flexibility during post-production.
Additional equipment for advanced time-lapse techniques
If you want to take your time-lapse game to the next level, consider investing in an intervalometer to automate the shooting process. You can also use neutral density filters to control exposure in bright light conditions or a motion control system for dynamic camera movement.
-
Choosing the perfect subject for your time-lapse
Look for subjects that have visible and noticeable change over time, such as a sunrise, cityscape at rush hour, or blooming flowers. Experiment with different subjects to find what captivates you and your audience.
Calculating the interval and duration for capturing
The interval between shots will depend on the speed of the subject's movement and the desired final duration of your time-lapse. Consider using the "180-degree rule" by setting your interval to half of your desired shutter speed.
Setting up your camera and securing it for stability
Mount your camera on a sturdy tripod and check that it's level. Use a cable release or the camera's built-in timer to minimize camera shake. Avoid touching the camera during shooting, as it can result in blurry images.
-
Saving and organizing your time-lapse files
Create a dedicated folder on your computer to store your time-lapse files. Organize them by date or subject to make them easier to find later. Consider backing up your footage to an external hard drive or cloud storage for added security.
Importing your footage into video editing software
To create your time-lapse video, import your image sequence into video editing software like Adobe Premiere Pro or Final Cut Pro. Most editing software allows you to easily import image sequences as video clips.
Sorting and labeling your clips for easy access
Once your footage is imported, arrange the clips in the desired order on the timeline. Label each clip with a descriptive name to quickly locate specific scenes. This will save you time when editing and make the process smoother.
Remember, creating stunning time-lapse videos takes practice and experimentation. Don't be afraid to try different techniques and subjects, and most importantly, have fun with it!5. Editing and Enhancing Time-lapse Sequences
Trimming and arranging your time-lapse clips:
Okay, so you've captured some epic time-lapse footage, and now it's time to bring it all together. Start by trimming your clips to remove any unnecessary footage or awkward transitions. Be ruthless, just like Marie Kondo with her decluttering! Then, arrange the clips in a sequence that tells a compelling story or captures the passage of time smoothly.
Adjusting exposure and color correction:
Sometimes, Mother Nature doesn't cooperate with our camera settings. Don't worry, though, because you can fix it in post! Use editing software to adjust the exposure and color of your time-lapse footage. Brighten up those dark nights or add a touch of warmth to those gloomy days. Remember, a little color correction can make a big difference.
Applying motion blur or deflickering techniques:
Ever noticed those annoying flickering or jerky movements in your time-lapse videos? Fear not, for there are ways to combat these pesky issues. Apply motion blur to smooth out any abrupt movements and make your time-lapse look more cinematic. If you still notice flickering, try using deflickering techniques to eliminate those visual hiccups. Your time-lapse will thank you for it!
-
Selecting suitable music for your time-lapse video:
Silence is golden, but music can be like a cherry on top of your time-lapse masterpiece. Choose a soundtrack that complements the mood and tempo of your footage. Whether it's an epic orchestral score or a catchy indie tune, make sure it enhances the overall experience for your viewers. Just be careful not to violate any copyright laws – you don't want a legal headache accompanying your time-lapse vibes.
Using transitions and overlays to enhance the visuals:
Transitions are like the glue that holds your time-lapse clips together. Smoothly blend your clips with various transition effects, such as fades or slides, to create a seamless flow. Add overlays like text or graphic elements to provide context or highlight key moments. Feel free to get creative and give your video that extra visual oomph!
Applying visual effects for a unique touch:
Want to take your time-lapse video to the next level? Consider incorporating some special effects. Play around with slow-motion, time remapping, or even reverse playback for a jaw-dropping effect. Just remember, moderation is key. Unless you're aiming for a psychedelic time-warp experience, too many effects can be overwhelming. Let your creativity shine, but don't let it take over!
-
Choosing the appropriate video format and resolution:
Now that you've put in the hard work, it's time to share your creation with the world! When exporting your time-lapse video, select a video format that is compatible with your desired viewing platforms. Consider the resolution as well – higher quality video may require more storage space and longer upload times. Find the perfect balance between file size and video quality to ensure your viewers get the best experience possible.
Optimizing for different platforms and devices:
Different platforms and devices can have varying requirements for video playback. Make sure your time-lapse video is optimized for different screens, whether it's a computer, smartphone, or tablet. Test your video on different devices to ensure it looks stunning wherever it's viewed. After all, you want to impress your audience, no matter the screen size!
Sharing your time-lapse videos on social media and websites:
Ah, the moment of truth! Time to let your time-lapse video venture out into the digital realm. Share your creation on social media platforms like Instagram, YouTube, or Facebook to reach a wider audience. Embed it on your website or blog to showcase your skills to the world. Don't forget to include relevant hashtags and captions to attract those likes and shares. May your time-lapse video go viral and bring you internet fame!
-
Experimenting with different techniques:
Remember, creating stunning time-lapse videos is an art form, so don't be afraid to experiment. Try different compositions, angles, and intervals to find your unique style. Explore various locations, subjects, and weather conditions to capture the beauty of the world around you. The more you experiment, the more you'll discover what works best for you. Embrace the journey and let your creativity run wild!
Keeping an eye on the weather forecast:
The weather can make or break a time-lapse video. Always keep an eye on the forecast to maximize your chances of capturing breathtaking scenes. Sunny days, dramatic clouds, or the magic of a storm can add that extra wow factor to your footage. But hey, if you end up with unexpected rain or a snowstorm, don't fret! Adapt and embrace the unique opportunities that Mother Nature presents. Just make sure your camera is weather-sealed or seek shelter for yourself and your equipment.
Learning from the masters:
The best way to level up your time-lapse skills is to learn from those who have mastered the craft. Study the work of renowned time-lapse artists and filmmakers to gain inspiration and insights. Watch tutorials, read books, and join photography communities to expand your knowledge. Remember, even the masters were once beginners. So, don't be discouraged if your first attempts don't look like a National Geographic documentary. Practice, learn, and let your passion for time-lapse guide you to greatness.
FAQ
-
Absolutely! Many smartphones today come equipped with built-in time-lapse features or you can download third-party apps specifically designed for creating time-lapse videos. Just make sure to stabilize your smartphone during the capture process to avoid shaky footage.
-
The duration of your time-lapse video depends on the subject and the story you want to tell. Generally, shorter time-lapse videos ranging from 10 to 30 seconds are more captivating and keep the viewers engaged. However, it ultimately depends on the footage you capture and how you want to portray the passage of time.
-
To achieve smooth motion in your time-lapse videos, it is important to use a stable tripod or other camera support to prevent any movement. Additionally, you can incorporate motorized sliders or pan-tilt heads for more controlled and precise camera movements. These tools will help you achieve professional-looking smooth motion in your time-lapse sequences.
Now go forth, armed with these tips, and create stunning time-lapse videos that will leave your friends, family, and the internet in awe. Remember, the most important thing is to have fun during the process. So, embrace your inner time-lapse artist and let your creativity shine through the lens!
With the guidance provided in this step-by-step tutorial, you are now equipped with the knowledge and skills to create stunning time-lapse videos. Remember to explore different subjects, experiment with various camera settings, and unleash your creativity during the editing process. Whether you share your time-lapse videos online or simply enjoy them for personal satisfaction, the art of time-lapse videography offers endless possibilities for capturing the world around us in a unique and mesmerizing way. So go ahead, grab your camera, and start creating your own breathtaking time-lapse masterpieces!